
投資やらなんやら色々と言われている中、「自分への時間」という投資はしているでしょうかという話。
ROI (Return on Investment/投資利益率)とは?
ビジネスやITでも取り入れられている「投資効率」を測る指標、ROI (Return on Investment)。
これは、投じた費用に対してどれだけの純粋な利益が得られたかを測る指標です。この数値が高いほど、投資の効率が良かったことになります。
計算式は極めてシンプル。
ROI(%) = 純利益 ÷ 投資額 × 100ROI計算の具体例
例えば、1,000万円の売上を得るために、投資額とその他の費用を合わせて800万円かかったとします。この場合の純利益は 1,000万円 - 800万円 = 200万円 です。
200万円 (純利益) ÷ 800万円 (投資額) × 100 = 25つまり、投じた金額に対して25%の利益が得られたという計算です。
応用:時間のROI(Return on Investment)
このROIの概念、お金だけではなく時間にも適用できます。
- この作業は面倒だから後回しにしよう
- 当日できる作業だから
と後回しにしがちです。ですが、これは「機会損失」や「未来の時間の質を下げる」リスクを伴います。
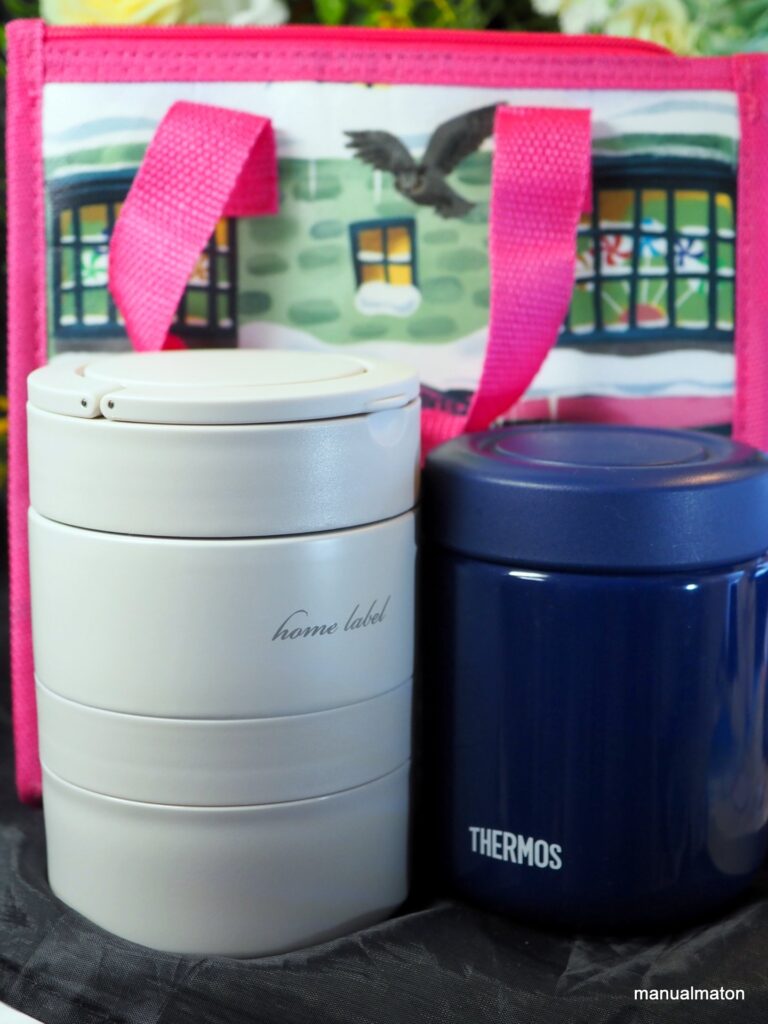
ユースケース:弁当の手間
筆者は弁当を毎朝作っていますが、その中でも厄介なのは「食材の下ごしらえ」です。肉と魚は言うに及ばず。野菜も結構な下処理が発生します。
ある日(といっても先週の土日ですが)大量のキャベツをもらったので、これを「時間の投資」と考えてみます。
さっくりとしすぎた手順
- キャベツをざっと洗う
- かなり適当に切っていく
- チャック式バッグに詰める
- 他に野菜があればマッチベター。
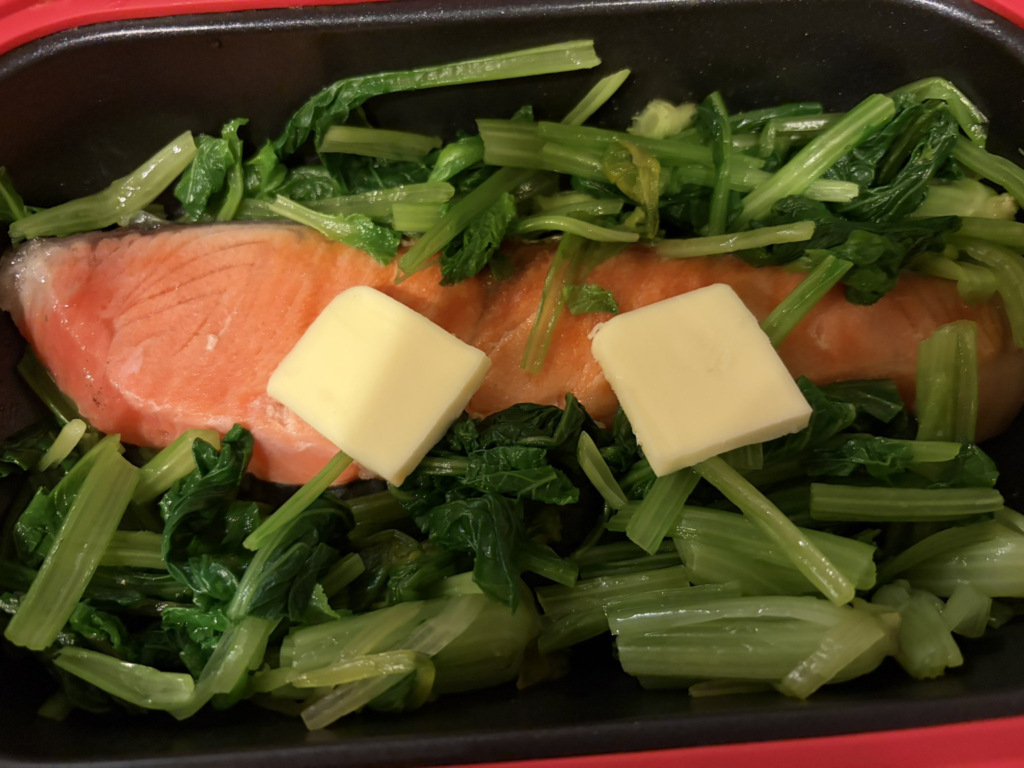
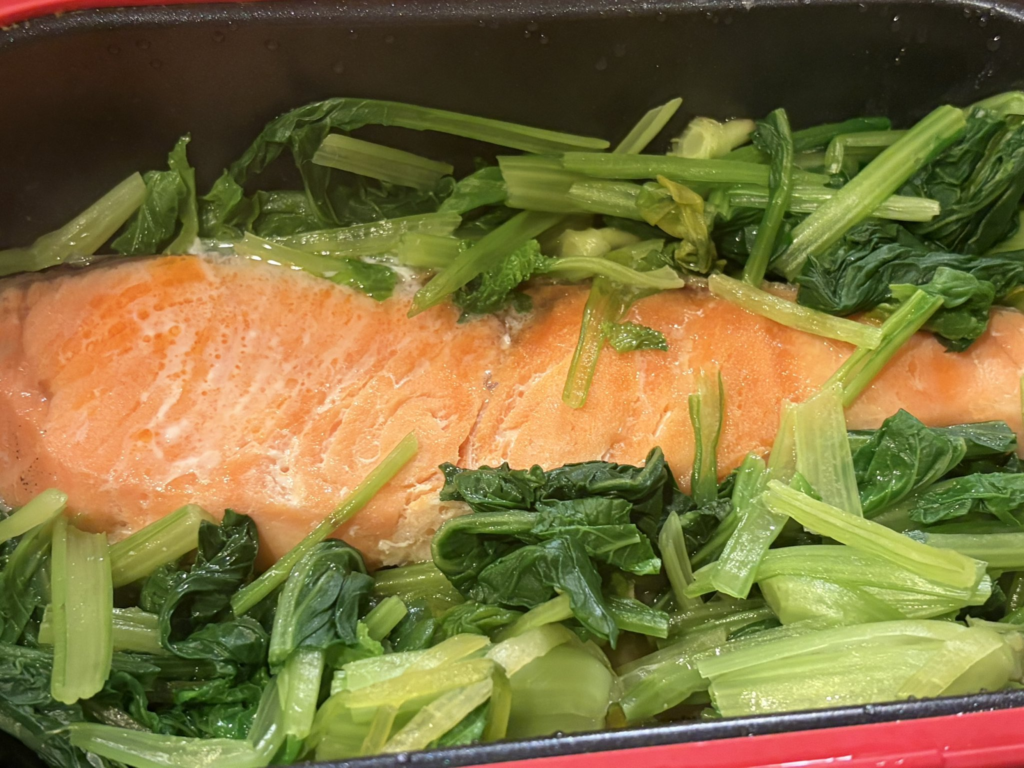
こうしてできたのがこちら。
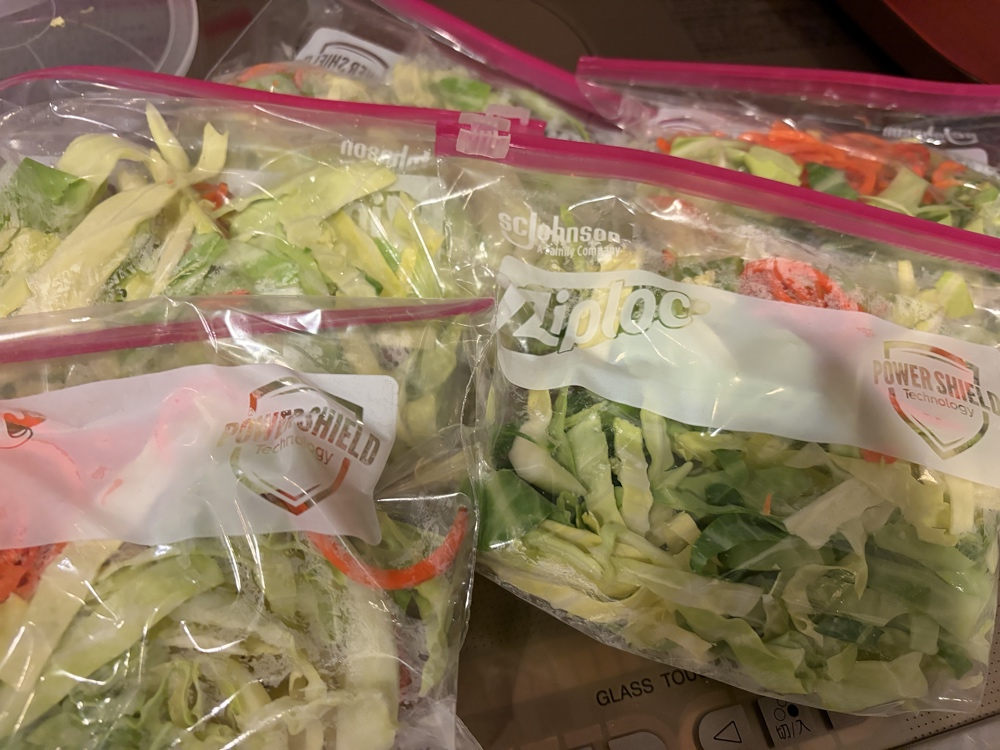
この下ごしらえで得たROI(Return on Investment)
この、野菜の下処理は休日の夕方という、最もやる気が出ない時間に「せめてこんだけやっておくか」と、20分ほどの手間をかけて実施。
ですが、これで得られる時間は、少なく見積もっても「平日5日につき10分の時短」が見込めます。
なぜなら、
- 作業を中断して野菜を切ったりまな板・包丁を洗うスイッチングコスト
- 道具の出し入れと、シンク洗いなどの細かいオーバヘッド
を一気に解決。冷凍状態であっても、冷凍庫から袋を取り出して中身を鍋やフライパンに入れれば一発です。
それ以上に大事なのが
- 「平日の朝」という、最もSAN値(精神力)が削られやすい時間帯における「判断コストの削減」
が見込めます。
では、そのROIを改めて見てみましょう。
- 投資額: 20分
- 総削減時間: 5日 × 10分/日 = 50分
- 純粋なリターン(利益): 50分(総削減) - 20分(投資額) = 30分
リターンとして得られた時間は単純計算で30分です。
30分 (純利益) ÷ 20分 (投資額) × 100 = 150なんと、そのROIは150%!これは、『桃太郎電鉄』の高効率物件とされる出雲そばが、独占ボーナスを考慮しない場合の年間収益率(50%)と比べても、その効率の良さが歴然としています。
「タイパ」とやらは時短だけではない
さて、翻り、ここ数年の「タイパ」」とやらの手法は、筆者は苦手です。
- 倍速再生:論外です。役者のリズムや間の取り方、BGMと言った「芸術」が損なわれるからです。
- 切り抜き動画:便利ではありますが、「切り抜いた者のバイアス」に囚われます。これは自分の判断力をいざというときに頼ることができません。
- ながら再生:時と場合により。歩きながら等は自らの命が危険です。
なので、「多少の一時的な損失が、後のリターン」となって返ってくるのであれば、それは「必要経費」として支払う必要があるというお話。
余談
その一種のROIとして最も秀逸な例が『ハリー・ポッターと賢者の石』。
最終盤、寮杯ポイント、優勝確実だったスリザリンと160点のビハインドがあったグリフィンドールは三人組の活躍で立て続けに160点を獲得。
しかし、最後の一押しとなったのはネビル・ロングボトムへの10点でした。
この、「友に立ち向かう勇気」という、ダンブルドア校長の「ささやかな投資」が彼の自信という自己肯定感を涵養し、後の
- ダンブルドア軍団のサブリーダー
- 特にハリー不在時の精神的支柱
- 最強の分霊箱「ナギニ」討伐
- 10数年後の薬草学教授
として返ってきたのです。「この程度の投資」と軽視しても、適切に行えば莫大なリターンになってくると言う
「お前、最後のそれが言いたかっただけだろ」
という突っ込みに「Exactly」と答えて本稿は終わりにします。